Odds and Ends Baby Gift
A friend of mine is having their first baby, which they were keeping the gender of the baby a secret until they could tell their families. That left me in a small predicament since the baby shower was coming right up and I wasn't sure which color way to use. Have you seen the new line from Julie Comstock called Odds and Ends? It is PRECIOUS! I thought it was the perfect line to make baby gifts for either a boy or a girl.
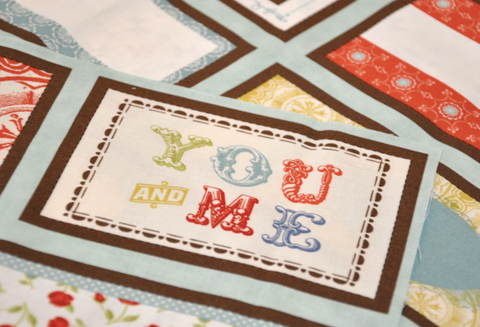
There are these really cute "labels" that I thought would be perfect for an autograph changing mat. More on that later, I'm still waiting for these lovely autograph squares to make their way back to me.
I thought the left over labels would make a great bib and burp clothes (which I hear you can never have enough of).

These burp cloths went together so fast! Simple and sweet, perfect for a baby boy or girl!

I picked up a pack of bibs at Ikea that are plain white with these colorful bindings around them. I thought this one picked up the green in the You and Me label perfectly. I have to say this one is my favorite!

Last thing I made was this little outfit. I took a plain onsie and appliquéd this Faith label and made some coordinating pants with ruffles from the Britches and Bloomers pattern. If you have the need to make kids pants, I highly recommend this easy pattern! It's great for beginner sewers with ruffle or cuff bottoms and a elastic waist band.

I think this is the quickest baby gift I have made in a long time, and it has such a cute charm with those sweet labels. If you want to see how these are made, check out the tutorial!
Jenn
Baby Gift Label Tutorial
I made the cutest little baby gifts the other weekend from these labels and thought I would post a quick tutorial.

So here's what you need:
- 1 panel of labels (I used the Odds and Ends panel
- Heat and Bond (enough to fit your label)
- Item to applique your labels on (onsies, cloth diapers and a bibs are all great for these)
- Coordinating thread
Here are the adorable labels I used from the Odds and Ends line.

Start by cutting out which label you want to use.

Cut around the label so just the inner border is remaining.

Measure the label, cut the same size of Heat and Bond. Apply the Heat and Bond to the wrong side of the label by following the manufacturers directions.

Once the Heat and Bond is ironed on, trim all the excess Heat and Bond away so the label is clean around the edges.

Remove the Heat and Bond paper off the back, place on the item you want to appliqué. Press with the iron following Heat and Bond manufacturers directions.
Stitch around the edge of the label, I used a coordinating brown thread and a tight zig zag stitch.

Pull the tales to the back and knot.

And just like that you're done, baby gift ready to go! Hope you enjoy!
Jenn