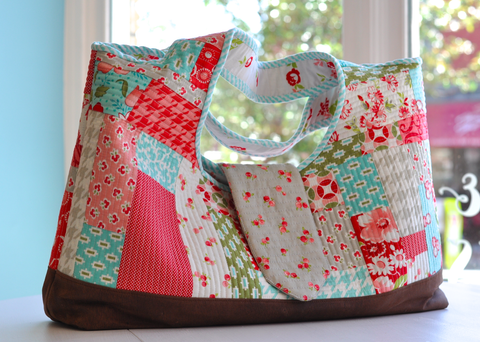
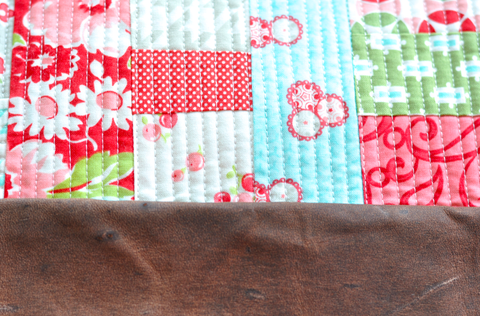
Moda Scrap Bag
A Moda Scrap Bag is a bag full of Moda fabrics that don't make the cut for precuts or yardage. Think of them as remnants after cutting all their precuts.
Here are the deets:
- They come as strips
- Usually from the same line of fabric, but if not they will coordinate well together
- Usually about 1/2 lb or fabric
- Usually has selvages you'll end up having to trim off (you may get lucky and get no selvages!)
- Usually the strips are anywhere from 1" - 3" in width after you cut the selvages off
- Usually strips measure 32" long
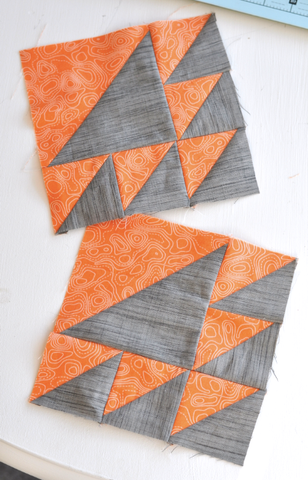
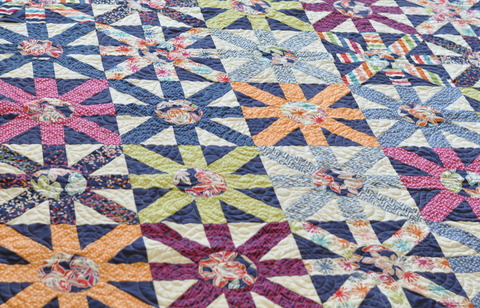
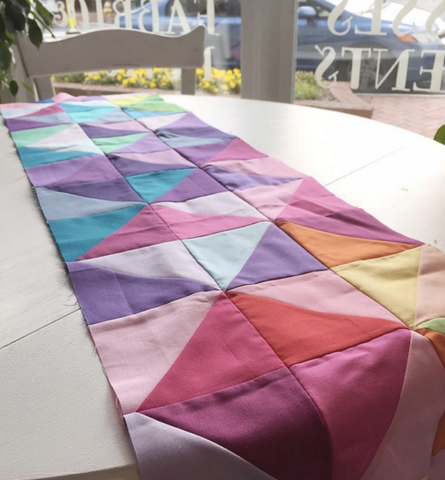
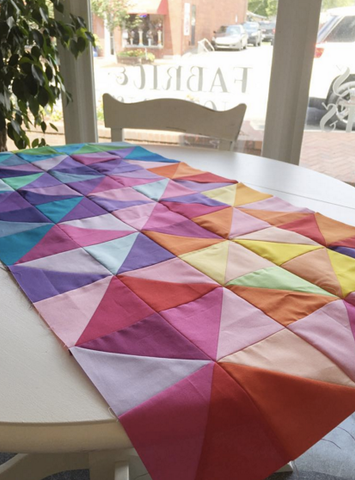
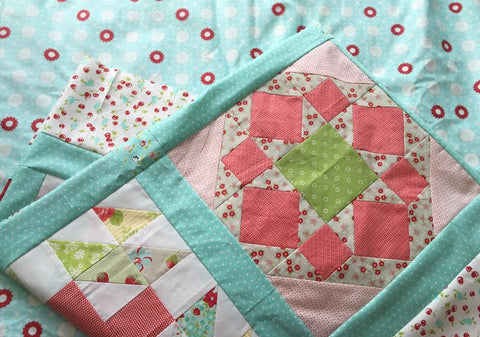
Not sure what to do with a scrap bag? I have a tutorial for this Half Square quilt, or see below for another easy, quick finish.

Quilt finishes at 37" x 37"
(Dimensions could change depending on how many strips come in your scrap bag, and what size your strips are cut into)

Materials needed:
- (1) Moda Scrap Bag
- (1 1/4 Yd) Backing
- (1/3 Yd) Binding
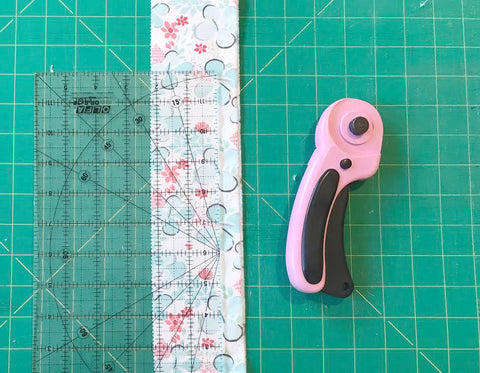
Step 1: Take the strips out of the bag, find the strip with the smallest width
Take all your strips out of your bag, find the strip width that is the most narrow.

Step 2: Cut all strips the same width
Cut all strips the width of your most narrow strip
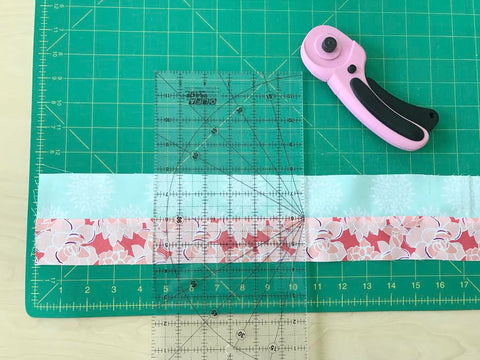
Step 3: Match your strip to a coordinating print
Match your strip to the print you want it sewn next to, I matched all my strips at the same time

Step 4: Sew each pair
Each strip that you have matched together, sew them right sides together using a 1/4" seam. Press seam to one side.
Step 5: Cut strips into thirds
Cut sewn strips into thirds. My strips measured 32", so I cut my strips into 3 sections that measured 10.5". 
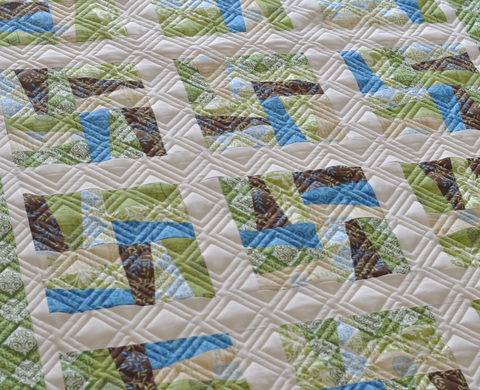
Step 6: Sew the three sections together
Step 7: Cut block in half
Cut down the center, since my block measures 10.5" wide, I cut my block into two 5" sections

Step 8: Sew both blocks together
Flip your two blocks and sew them together.

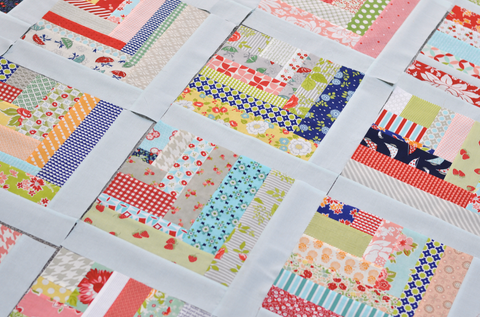
You now have one block complete! Repeat steps to complete the remaining strips you have matched up. Layout as desired, ta da! That's it, your quilt top is complete. You could add on some borders, or purchase two coordinating scrap bags to make the quilt larger. These are all the strips that came in my scrap bag, I rather like the size as it's a perfect size for a baby quilt.


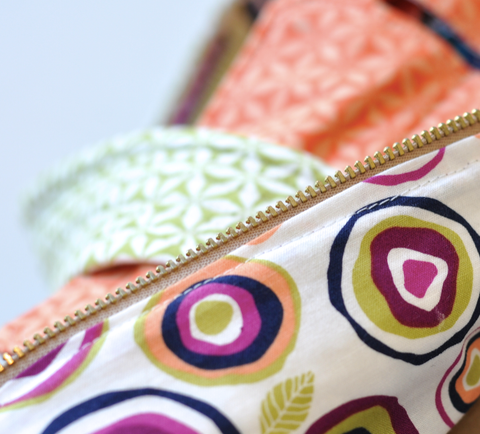
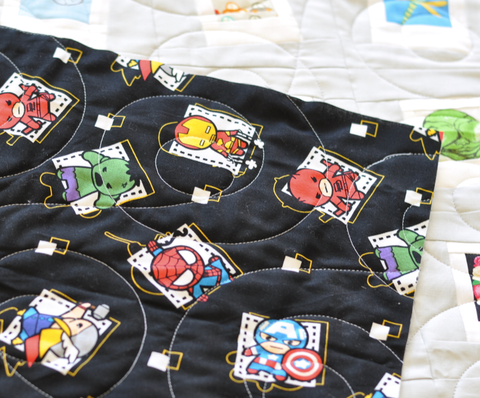
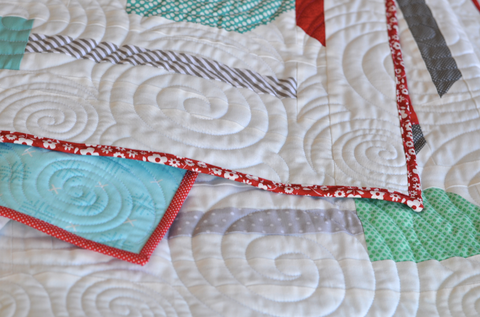
Want us to longarm a quilt for you? Here are just some of the quilts we have longarmed, and we have an easy estimate form to give you an idea on pricing.
]]>